


How to Install Standing Seam Metal Roofing – Hemmed Eave and Rake.
This video shows how to install standing seam panels when hemming the eave and rake. This technique provides the cleanest look and shows no exposed fasteners – you do not need additional rake trim when using this technique, the rake edge is finished once you hem the panel. The video features Union's Advantage-Lok II standing seam roofing panel which is a 16" wide snap lock nail flange panel that is excellent for residential and light commercial applications. See our full range of installation videos at www.unionmetalroofing.com or on YouTube. You can call us at 888-MTL-ROOF. IMPORTANT NOTICE: These instructions are for illustrative purposes only and may not be appropriate for all applications. Please consult your licensed roofing contractor for detailed instructions for your specific application.


This is the best video I’ve seen for understanding the basics of standing seam roofing. I watched several other 20-minute long videos and, while I learned a lot, it took much longer and they didn’t make clear some of the things that are very easy to see going on in this animation.
algún día yo hare el techo de mi casa de fierro y con ese sistema de lamina profecional
BRILLIANT VIDEOS!
Awesome videos! Does anybody know how to build a roof with a hemmed rack and endwall flashing? I’m not seeing a clean way to integrate the two.
All looks good with the video except for bending of a lengthy rake edge. I am proposing to make 1 inch cuts every18 inches along the rake to allow a sequence of18 inch bends (assuming 18 inch bending tool). Maybe make 1/8 inch hole punches to end each cut. Replies welcome.
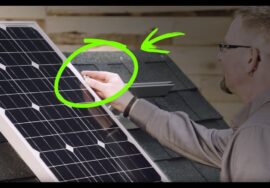
so what is the last panel holding on to?.. are there any screws holding it?
This is great! You guys should make these panels available as special order from our local big bx stores maybe? (e.g – Lowes and HomeDepot)